Support Schedule
A server’s support schedule determines when your team is available to handle support requests. Configure your support schedule to match your team’s working hours, ensuring that tickets are only created during active support periods. This helps manage user expectations and prevents ticket overflow during off-hours.
How does a support schedule work?
Section titled “How does a support schedule work?”Each server can have one active schedule. When no schedule is configured or the schedule is disabled, the server operates 24/7 and accepts support requests at any time.
Weekly structure
Section titled “Weekly structure”A support schedule contains daily schedules for each day of the week (Monday through Sunday). The week always starts on Monday for consistency across the platform. Each day can be configured independently with its own time slots, allowing you to create flexible schedules that accommodate different staffing patterns throughout the week.
Time slots
Section titled “Time slots”Each day supports up to 3 separate time slots, enabling you to handle split shifts or breaks in coverage. For example, you might configure morning hours (9:00-12:00), afternoon hours (13:00-17:00), and evening hours (18:00-20:00) as three distinct time slots.
A time slot consists of:
- Start time: When support becomes available
- End time: When support coverage ends
Timezone handling
Section titled “Timezone handling”Configure your schedule’s UTC offset to ensure time slots are interpreted correctly in your local timezone. For example, if your team operates in Central European Time (CET), set the UTC offset to +1. Note, that when you are one of the poor souls with Daylight Saving Time, you will need to manually adjust your schedule when the time changes.
User experience during off-hours
Section titled “User experience during off-hours”When a user attempts to create a ticket outside of your configured support schedule, the system:
- Checks the current time against all defined time slots for the current day
- Determines if the current time falls within an active support period
- If outside support hours, calculates the next available time slot
- Displays a message informing the user when they can next create a ticket
This prevents ticket creation during off-hours while clearly communicating availability to your users.
Configuring the support schedule
Section titled “Configuring the support schedule”To configure your server’s support schedule:
- Navigate to your server’s settings page
- Click on the Schedule tab
- Toggle the schedule on or off using the enable/disable switch
- Set your timezone’s UTC offset (e.g., UTC+1 for Central European Time)
- Configure each day of the week individually
Adding time slots
Section titled “Adding time slots”For each day you want to configure:
- Select the day from the weekly view
- Click the Add Time Slot button (up to 3 time slots per day)
- Define the start and end times for the time slot
- Save your changes
Best practices
Section titled “Best practices”- Align with team availability: Configure your schedule to match when support staff are actually available
- Consider buffer time: Add 5-10 minutes of buffer before and after shifts to accommodate urgent handoffs
- Plan for breaks: Use multiple time slots to exclude lunch breaks or team meetings
- Communicate clearly: Ensure your schedule is documented and visible to users through announcements or info channels
- Regular reviews: Revisit your schedule quarterly to ensure it still matches your team’s capacity and user demand
Example configurations
Section titled “Example configurations”Standard business hours (Monday-Friday, 9:00-17:00):
- Set one time slot per weekday from 09:00 to 17:00
- Leave Saturday and Sunday without time slots (days off)

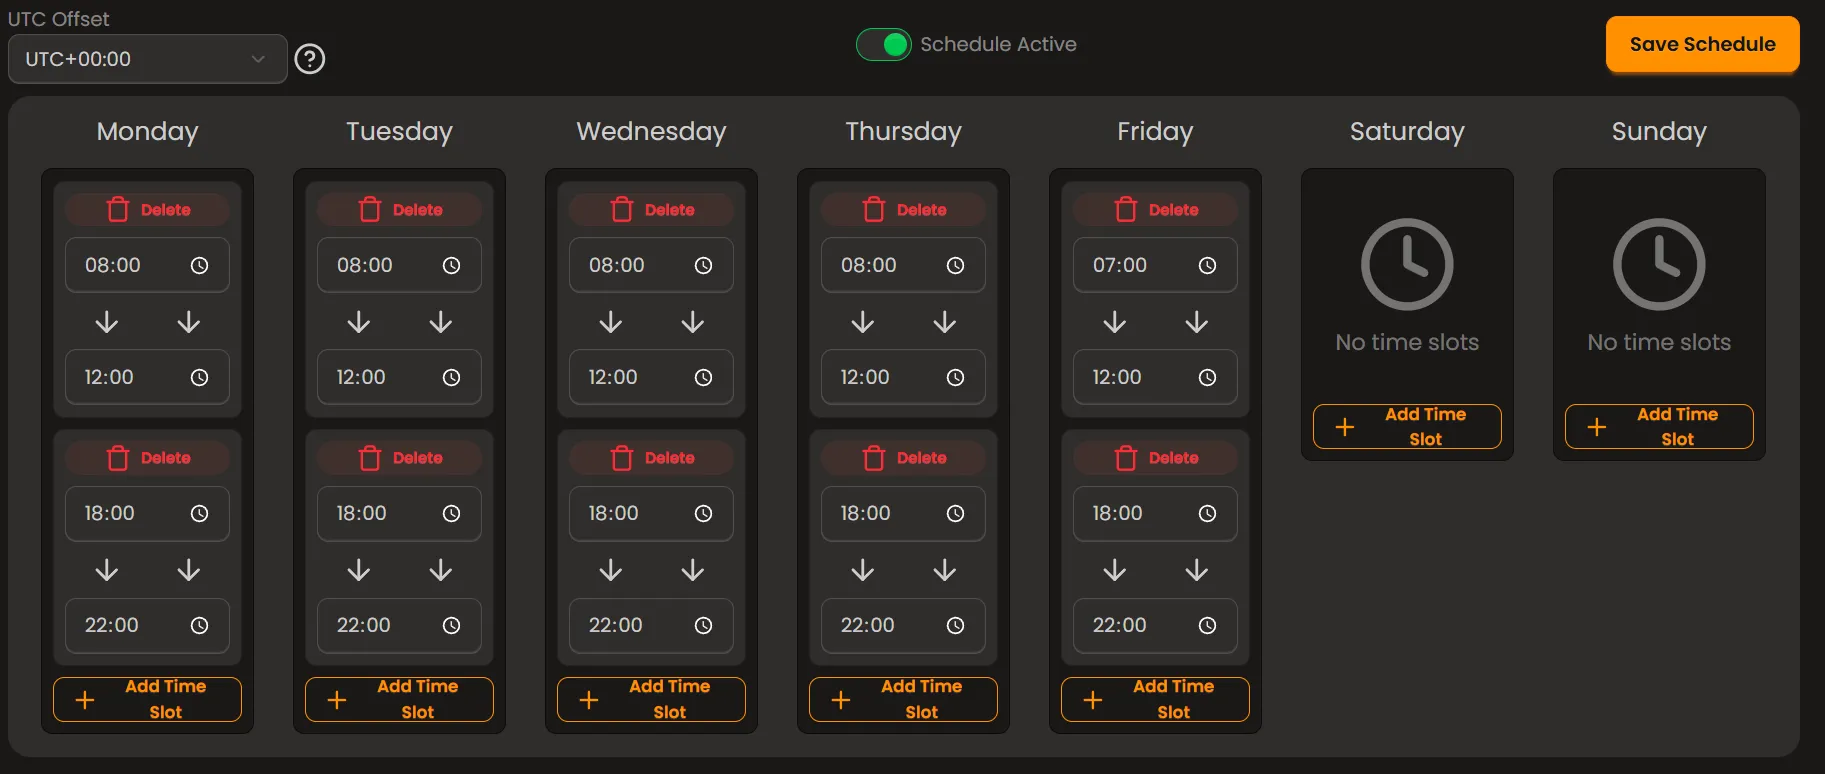
Split shift coverage (Morning and evening support):
- Time slot 1: 08:00-12:00
- Time slot 2: 18:00-22:00
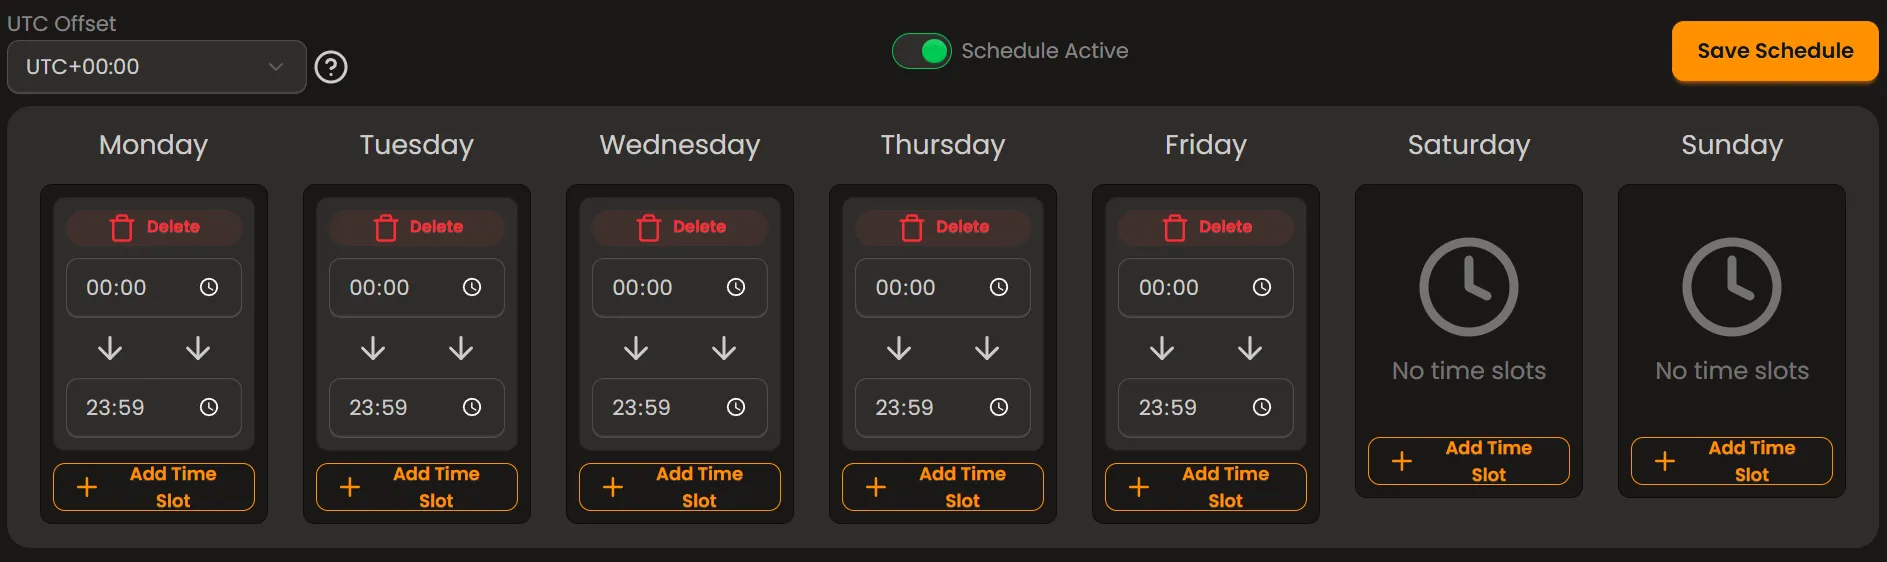
24/5 support (Round-the-clock weekday coverage):
- Monday-Friday: 00:00-23:59
- Saturday-Sunday: No time slots